
 01
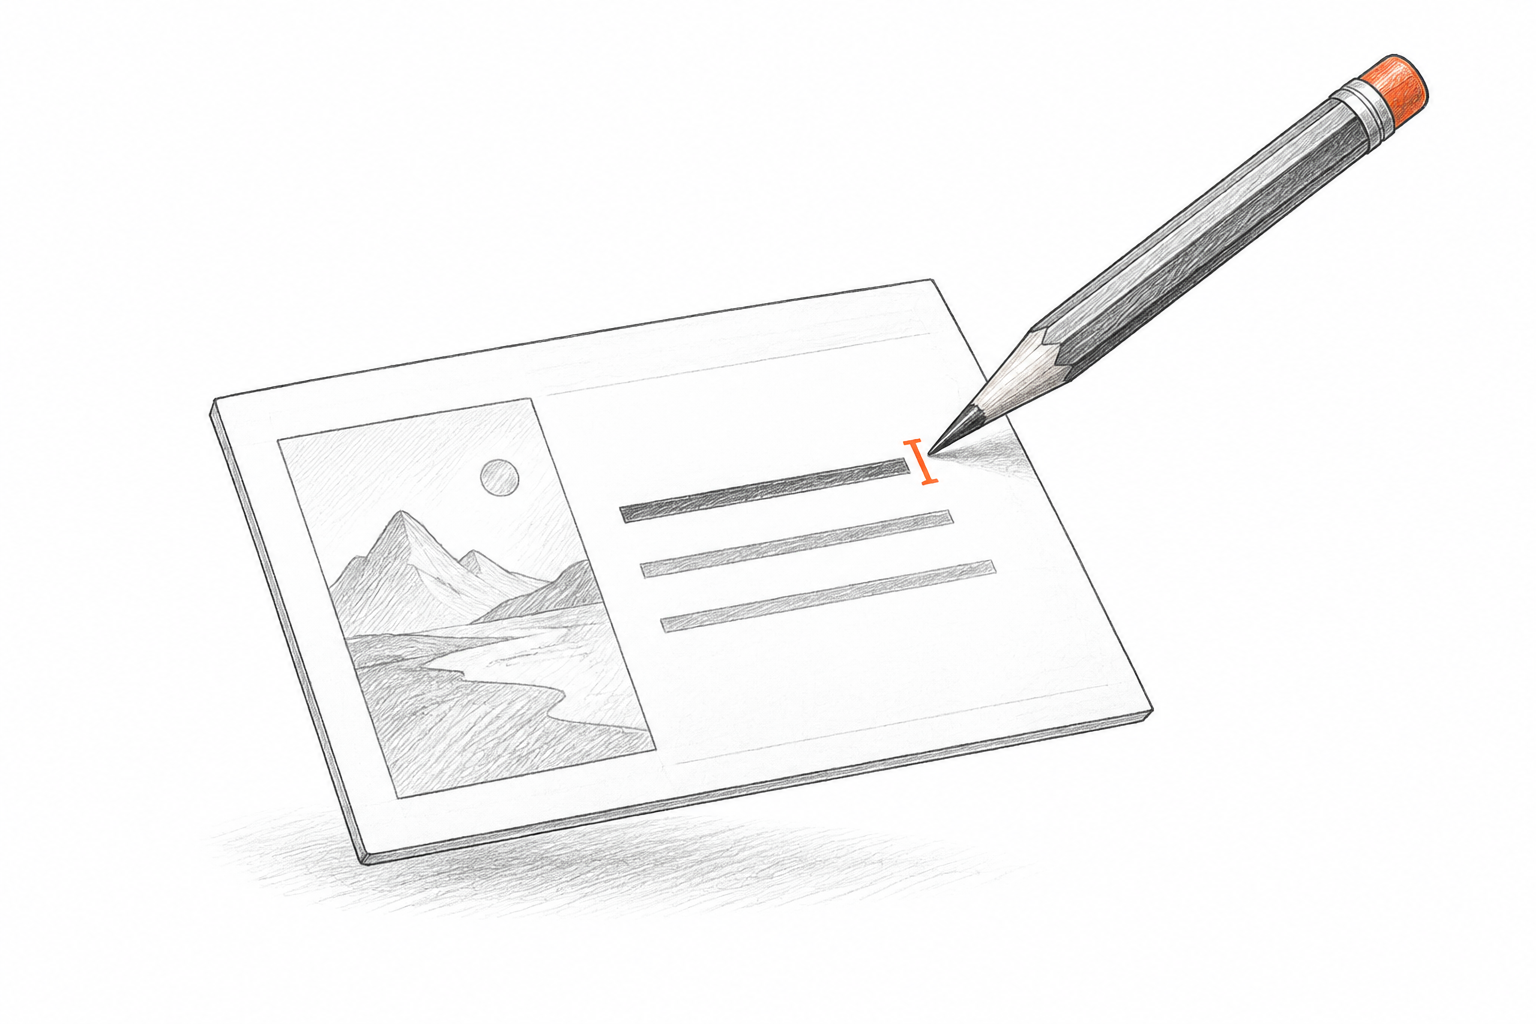
01Rewrite captured text
Captured headings and labels become editable text boxes where possible. Update wording, replace a number, or adjust the font in your PPT.
SCREENSHOT TO EDITABLE PPT
Recover a working slide from a screenshot when the original file is missing. Get editable text and separate visual elements in a PPT you can update for your own presentation.
Drop your screenshot here
FROM SAVED FILE TO WORKING SLIDE
A screenshot captures the design but locks its content in pixels. Reconstruct it as a PPT with editable text, giving you a practical starting point for updates.
Editable text
Separate visual regions
Reconstructed composition
INSIDE YOUR EDITABLE PRESENTATION
Use the reconstructed PPT as a working draft. Check the visible content, refine the details, and keep the editable elements you need for your presentation.
01Captured headings and labels become editable text boxes where possible. Update wording, replace a number, or adjust the font in your PPT.
 02
02Separate visual regions can be moved, resized, or replaced. Detailed illustrations may remain as images to preserve their appearance.
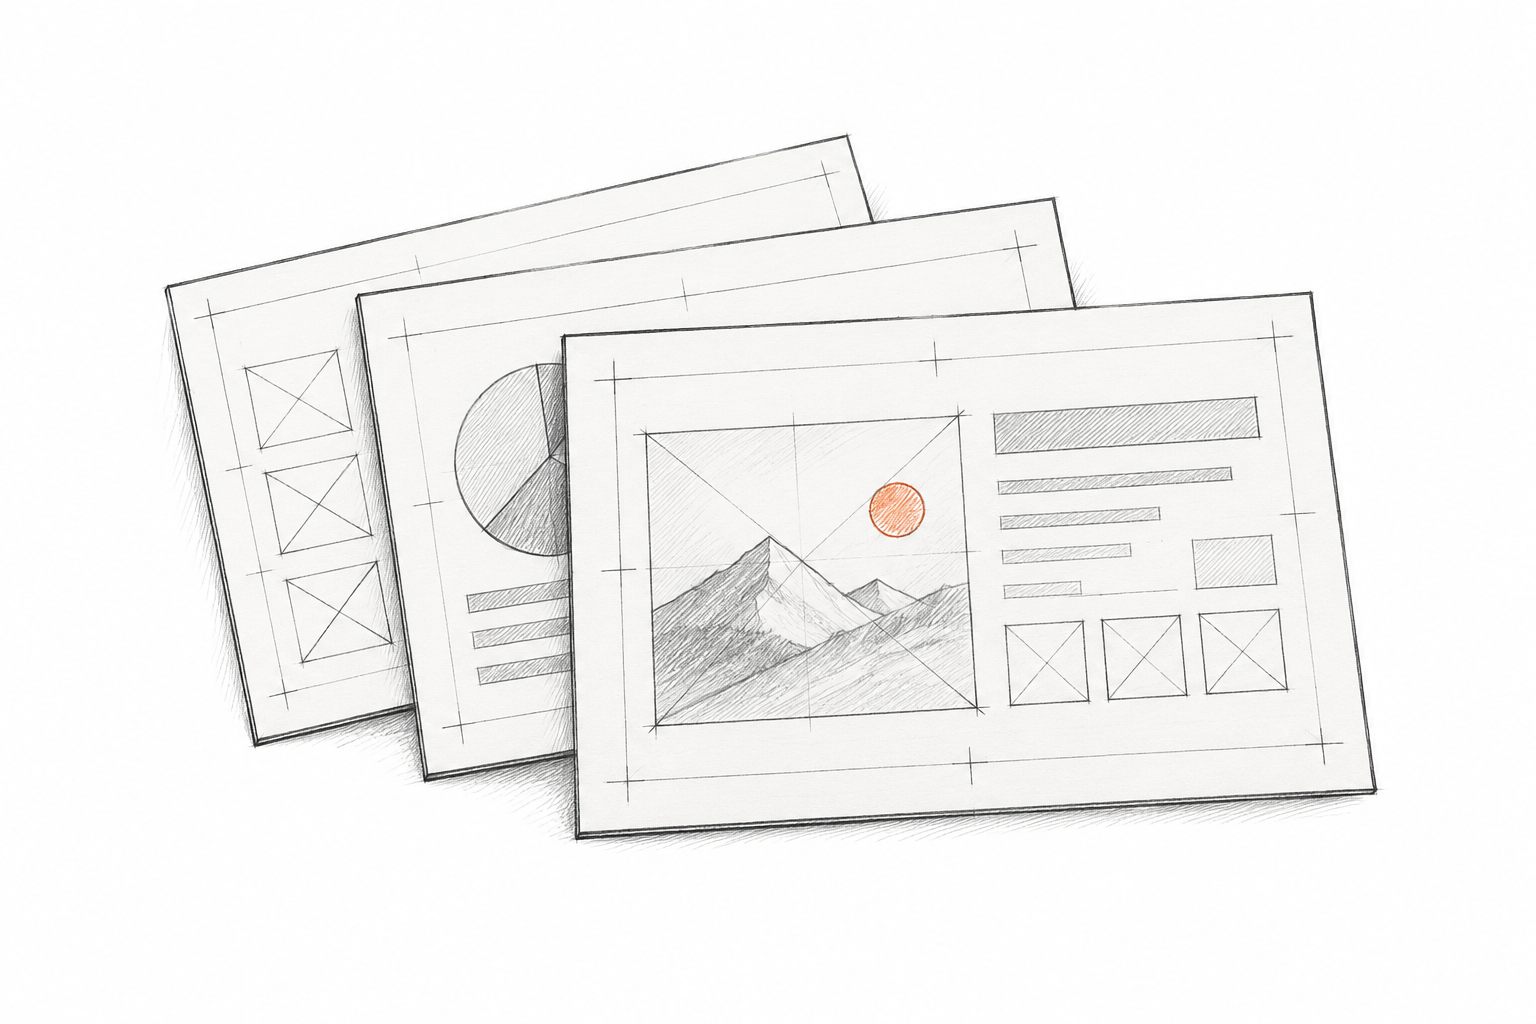 03
03The PPT follows the captured composition as a visual guide. Review spacing and alignment before adding the editable slides to your presentation.
Upload the file, review the reconstruction, and finish in PowerPoint.
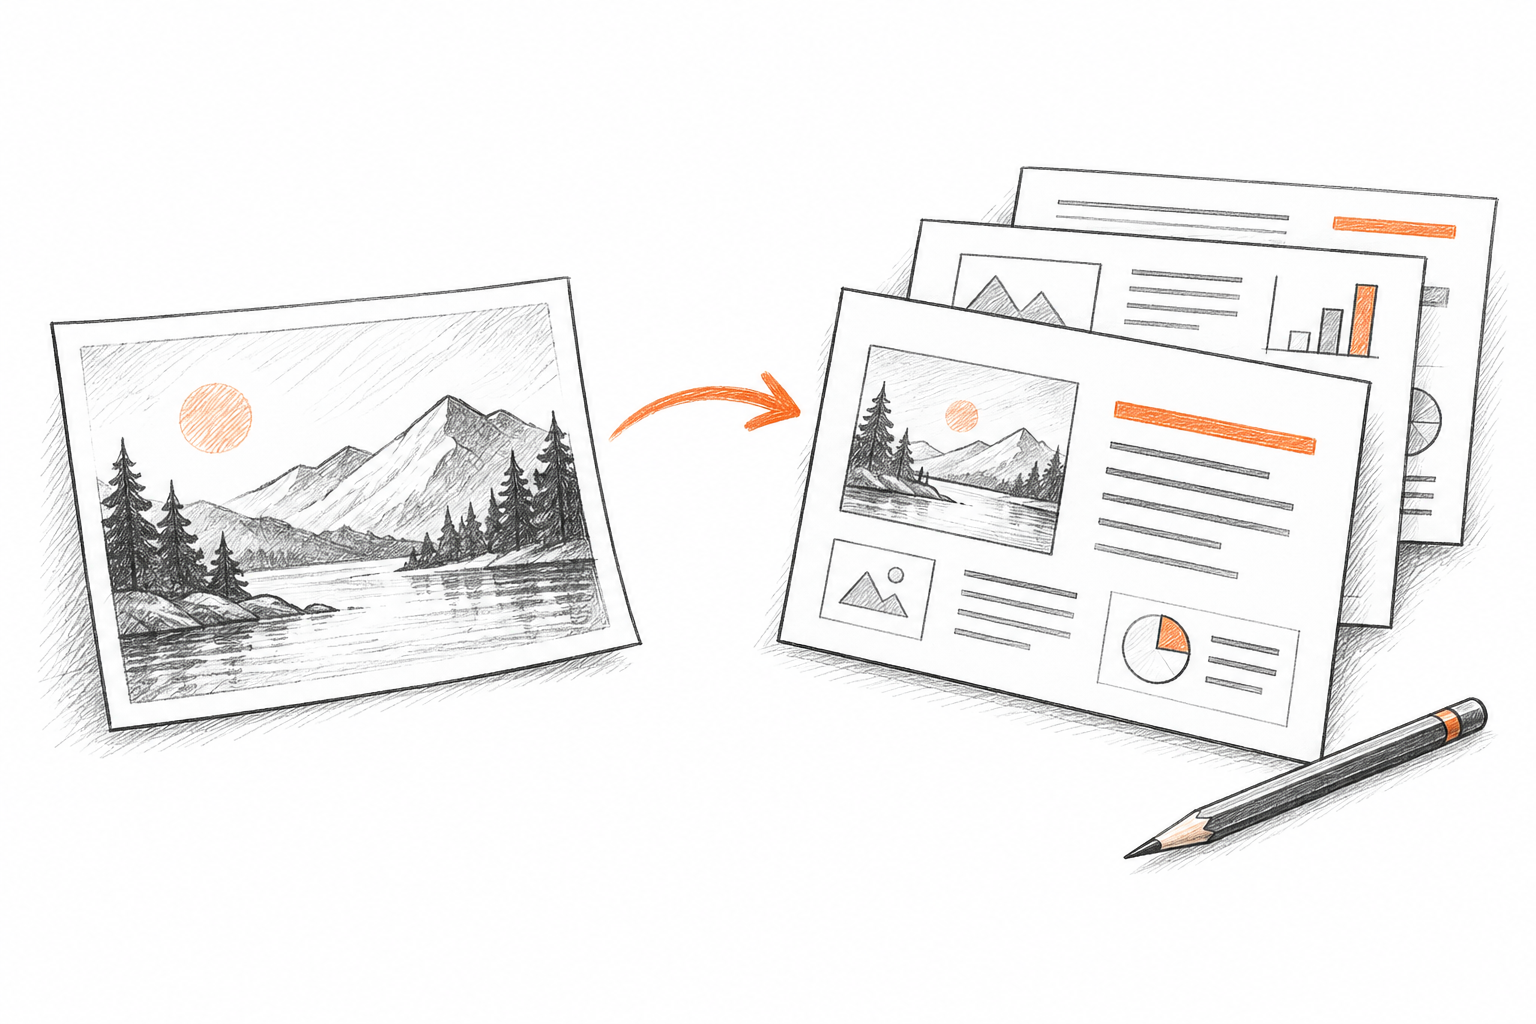
Choose one screenshot or several saved captures. Each file becomes one slide within your plan limits.
Visible text and useful visual regions become separate elements in the PPT. Complex artwork may remain as images.
Open the PPTX, review the slide sequence and styling, and make your final changes.
PREPARE YOUR SCREENSHOT
A complete screenshot of a presentation slide, with clear text and no surrounding controls.
Capture the screenshot at full presentation size so small labels remain readable.
Crop browser tabs, playback controls, and desktop borders out of the screenshot.
Use one complete slide per screenshot, including all four edges.
Keep screenshot files in the order you want them to appear in the deck.
A few practical details before you create your editable presentation.
SCREENSHOT TO EDITABLE PPT
Upload a screenshot, download an editable PPT, and continue from the slide you already have.
Free to try · no card required